Step 5: Install and configure the host (Hyper-V)
You can install Microsoft Hyper-V Server on any server that meets the requirements for Lenovo XClarity Administrator.
Before you begin
If you intend to implement a high-availability environment, see Implementing high availability (Hyper-V) for more information about setting up the Microsoft Hyper-V cluster.
Ensure that the host meets the prerequisites that are defined in Hardware and software prerequisites.
Ensure that the host system is in the same network as the devices that you want to manage.
Ensure that you configure failover for the network adapters using the tools that are provided by the vendor who supplies the network adapters.
- You must implement either a virtually separate data and management network topology or a single data and management network topology.
- You cannot use XClarity Administrator to apply firmware updates to that managed server. Even when only some of the firmware is applied with immediate activation, XClarity Administrator forces the target server to restart, which would restart XClarity Administrator as well. When applied with deferred activation, only some firmware is applied when the XClarity Administrator host is restarted.
- If you use a server in a Flex System chassis, ensure that the server is set to automatically power on. You can set this option from the CMM web interface by clicking , then selecting the server, and selecting Auto Power for the Auto Power On Mode.
Procedure
To install Hyper-V locally on a managed server, you can use an externally powered DVD-ROM drive. To install Hyper-V remotely, use the remote-control function that is provided through the management controller on the managed server.
Complete the following steps to install and configure Hyper-V Server on the host.
Additional instructions are provided by Microsoft on the Install Hyper-V Server website.
To install Hyper-V locally:
Complete the following steps to access the managed server, and install Hyper-V locally.
Download the Microsoft Windows 2012 r2 image, and burn a DVD-ROM of the image.
Connect the console-breakout cable to the KVM connector on the server.
Figure 1. Console breakout-cable and front bezel of a server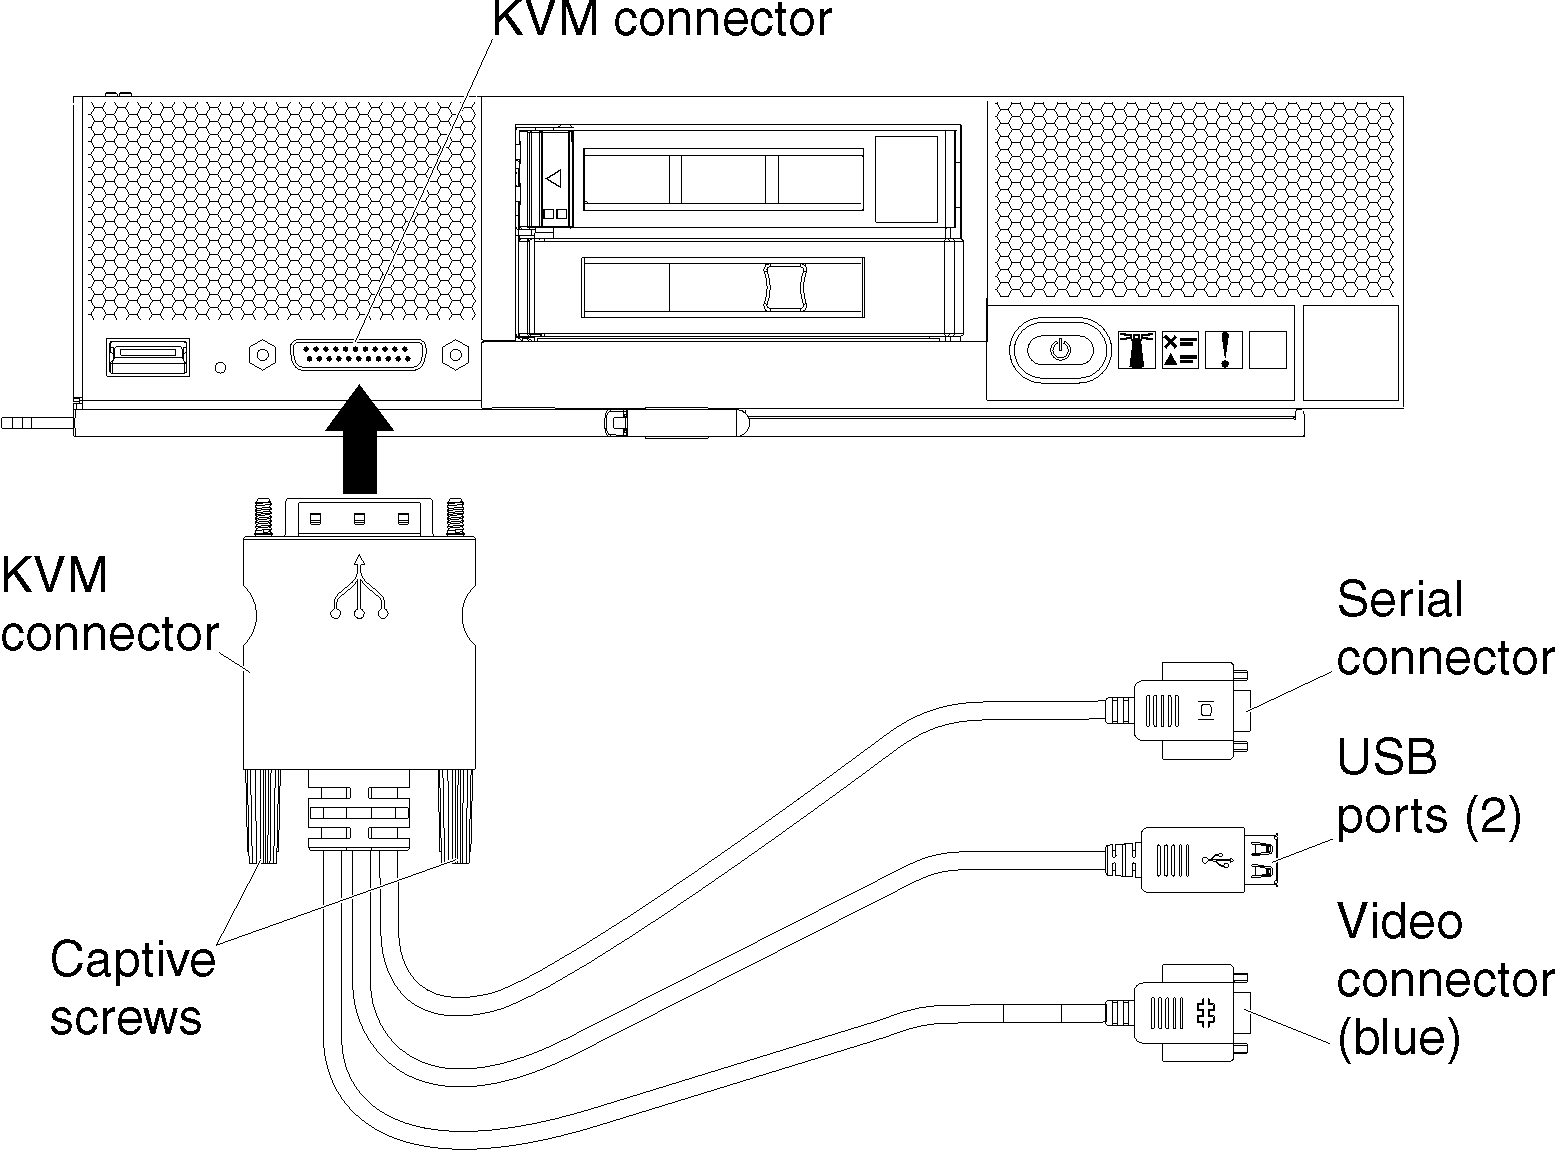
Attach an externally powered DVD-ROM drive, keyboard, mouse, and console to the console-breakout cable.
After inserting the DVD-ROM, power on the server.
From the splash screen, press F12, and select the device from which to boot the server (such as management controller: CD/DVD), and continue the installation process.
Complete the installation, ensuring that you configure an administrator password for the server.
When installation is complete, restart the server.
Optional: To support failover between redundant adapters, configure NIC teaming.
For information about setting up NIC teaming in Microsoft 2012, see the NIC Teaming Overview website.
Enable NIC teaming on the server:- From Server Manager, click Local Server.
- In the Properties sections, set NIC Teaming to Enabled.
Configure NIC teaming:- From the NIC Teaming page, click the server.
- In the Teams section, click .
- Fill in the team name, and select the new adapters to include in the team.
NoteFor this scenario, do not specify VLAN IDs at this point because it would apply VLAN tags to the host interface (and all packets would get the same tag). Because we are implementing a virtually separate management and data network, the VLAN tags (one set for data package and one set for management packets) must be applied to the virtual interfaces.Add the Hyper-V feature to this server:
- From the Server Manager Dashboard, click Add roles and features.
- Ensure that the installation type is role-based or feature-based installation.
- Ensure that this server is selected.
- Select the Hyper-V server role, and click Next.
- Select the Ethernet adapter to create a virtual switch for the adapter.
- Continue through the wizard. When complete, click Install.
- Restart the server to apply the changes.
When you log back in, the Hyper-V role is displayed in the server navigation pane of the Server Manager Dashboard.
From Virtual Switch Manager, create the virtual switch, and assign the virtual switch to the NIC team that you defined.
- From Administrative Tools, start Hyper-V Manager.
- Under Actions, click Virtual Switch Manager.
- Click Create Virtual Switch, and follow the wizard.TipThe adapter is listed under
Connection Type as Microsoft Network Adapter Multiplexor Driver.
To install Hyper-V remotely:
Complete the following steps to access the managed server, and install ESXi remotely.
Download the Microsoft Windows 2012 r2 image, and burn a DVD-ROM of the image.
Start a remote control session to the server from the management-controller interface.
- Point a browser to the management-controller IP address for the server.
- Log on to the management-controller interface.
- From the System Status page, click Remote Console.
- Follow the instructions to start a remote-console session:Figure 2. Example of a remote-control session
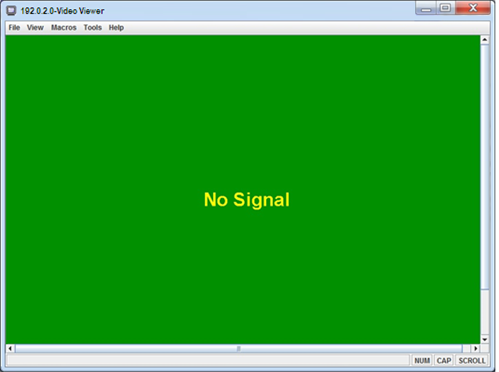
Click .
Click Add Image, and browse to find the location of the .ISO image on the client workstation. Then, click Open to mount the image.
Click to start the server.
From the splash screen, press F12, and select the device from which to boot the server (such as management controller: CD/DVD), and continue the installation process.
When prompted to select a disk drive to install:
- If you are installing to a local disk drive, select a disk drive with a minimum of 192 GB of space plus the size of the installation image.
- If you are implementing a high-availability solution for XClarity Administrator, which uses the high-availability function that is provided by Hyper-V, see Implementing high availability (Hyper-V) for considerations about the storage to be chosen. You must set up that storage before you continue with the installation process.
When installation is complete, restart the server to see the IP address of the host.
Optional: To support failover between redundant adapters, configure NIC teaming.
For information about setting up NIC teaming in Microsoft 2012, see the NIC Teaming Overview website.
- Enable NIC teaming on the server:
- From Server Manager, click Local Server.
- In the Properties sections, set NIC Teaming to Enabled.
- Configure NIC teaming:
- From the NIC Teaming page, click the server.
- In the Teams section, click .
- Fill in the team name, and select the new adapters to include in the team.
NoteFor this scenario, do not specify VLAN IDs at this point because it would apply VLAN tags to the host interface (and all packets would get the same tag). Because we are implementing a virtually separate management and data network, the VLAN tags (one set for data package and one set for management packets) must be applied to the virtual interfaces.
- Enable NIC teaming on the server:
Add the Hyper-V feature to this server:
- From the Server Manager Dashboard, click Add roles and features.
- Ensure that the installation type is role-based or feature-based installation.
- Ensure that this server is selected.
- Select the Hyper-V server role, and click Next.
- Select the Ethernet adapter to create a virtual switch for the adapter.
- Continue through the wizard. When complete, click Install.
- Restart the server to apply the changes.
When you log back on, the Hyper-V role is displayed in the server navigation pane of the Server Manager Dashboard.
From Virtual Switch Manager, create the virtual switch, and assign the virtual switch to the NIC team that you defined.
- From Administrative Tools, start Hyper-V Manager.
- Under Actions, click Virtual Switch Manager.
- Click Create Virtual Switch, and follow the wizard.TipThe adapter is listed under
Connection Type as Microsoft Network Adapter Multiplexor Driver.