Creating access-control lists
Lenovo XClarity Orchestrator uses access-control lists (ACLs) to determine which resources (devices, resource managers, and XClarity Orchestrator) users can access. When a user has access to a specific set of resources, that user can see data (such as inventory, events, alerts, and analytics) that is related to only those resources
Before you begin
Ensure that the user groups that you want to associate with the ACL are defined (see Creating user groups).
Ensure that all resource groups that you want to associate with this ACL are defined (see Creating resource groups).
About this task
- User groups identify the users that are affected by this ACL. The ACL must contain a single user group.
Users that are members of a group to which the predefined Supervisor role is assigned always have access to all resources. You cannot limit resource access for supervisor users.
When resource-based access is enabled, users that are not members of a group to which the predefined Supervisor role is assigned do not have access to any resources (devices and resource managers) by default. You must add non-supervisor users to a user group that is part of an access-control list to allow those users to access a specific set of resources.
When resource-based access is disable, all users have access to all resources (devices and resource managers) by default.
- Resource groups identify the resources (devices, resource managers, and XClarity Orchestrator) that can be accessed. The ACL must contain at least one resource group.NoteA user that has access to a manager group does not automatically get access to all devices that are managed by that resource manager. You must give explicit access to devices using device groups.
Procedure
To create an access-control list, complete the following steps.
- From the XClarity Orchestrator menu bar, click Administration (
 ) > Security, and then click Access Controls in the left navigation to display the Access Controls card.
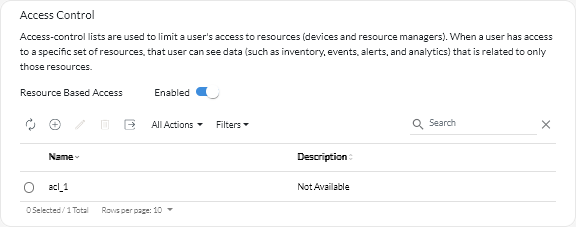
- Click the Add icon (
 ) to add an ACL. The Create Access Control dialog is displayed
After you finish
You can perform the following actions on this page.
- View the user group and resources groups in a specific ACL by clicking anywhere in the row for that ACL.
- Modify the properties and membership of a selected ACL by clicking the Edit icon (
 ).
). - Delete a selected ACL by clicking the Delete icon (
 ).
). - If a user cannot access data for a specific resource or if a user can access data for a specific resource that should not be accessed, identify the access-control lists that are associated with the user and then view the membership of each resource group that is also associated with those access-control lists. Ensure that the resource in question is or is not included in those resource groups.