Logging in to a local XClarity Orchestrator web interface
Log in to a local Lenovo XClarity Orchestrator web interface from a system that has network connectivity to XClarity Orchestrator virtual appliance.
Before you begin
- Chrome 80.0 or later
- Firefox ESR 68.6.0 or later
- Microsoft Edge 40.0 or late
- Safari 13.0.4 or later (running on macOS 10.13 or later)
Access to the web interface is through a secure connection. Ensure that you use https.
When using an LDAP user account, you can log in using the user name or username@domain (for example, user1@company.com).
- If you have not clicked or typed on the user interface for 30 minutes, your user session is restricted to read-only operations. If you attempt to modify data, the user session is automatically logged out.
- If you have not actively viewed data for 1440 minutes (24 hours), your user session is automatically logged out.
- After 24 hours, user sessions are automatically logged out, regardless of user activity.
Procedure
To log in to the XClarity Orchestrator web interface, complete the following steps.
- Point your browser to the IP address of the XClarity Orchestrator virtual appliance.
- Using static an IPv4 address
If you specified an IPv4 address during installation, use that IPv4 address to access the web interface using the following URL.
https://{IPv4_address}/#/login.htmlFor example:https://192.0.2.10/#/login.html - Using a DHCP server in the same broadcast domain as XClarity Orchestrator
If a DHCP server is set up in the same broadcast domain as XClarity Orchestrator, use the IPv4 address that is displayed in the XClarity Orchestrator virtual-appliance console to access the web interface using the following URL.
https://{IPv4_address}/#/login.htmlFor example:https://192.0.2.10/#/login.html
The initial login page is displayed.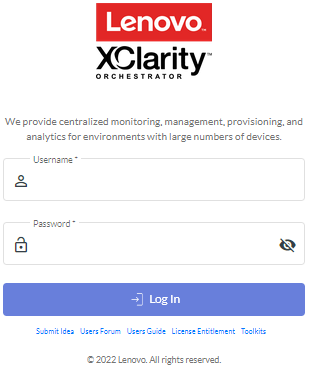 From the login page, you can perform the following actions:
- Submit ideas for XClarity Orchestrator on the Lenovo XClarity Ideation website or by clicking Submit idea.
- Ask questions and find answers on the Lenovo XClarity Community forum website by clicking Users Forum.
- Find information about how to use XClarity Orchestrator by clicking Users Guide.
- Find and manage all of your Lenovo licenses from the Features on Demand web portal by clicking License Entitlement.
- Find information about the available APIs by clicking Toolkits.
- Using static an IPv4 address
- Select the desired language from the language drop-down list.NoteSome configuration settings and data that are provided by the resource managers and managed devices might be available only in English.
- Enter a valid user ID and password, and click Log In.The first time that a specific user account is used to log in to XClarity Orchestrator, you are required to change the password. By default, passwords must contain 8 – 256 characters and must meet the following criteria.ImportantIt is recommended that you use strong passwords of 16 or more characters.
- (1) Must contain at least one alphabetic character, and must not have more than two sequential characters, including sequences of alphabetic characters, digits, and QWERTY keyboard keys (for example, “abc”, “123”, and “asd” are not allowed)
- (2) Must contain at least one number
- (3) Must contain at least two of the following characters.
- Uppercase alphabetic characters (A – Z)
- Lowercase alphabetic characters (a – z)
- Special characters ; @ _ ! ' $ & +
White space characters are not allowed.
- (4) Must not repeat or reverse the user name
- (5) Must not contain more than two of the same characters consecutively (for example, “aaa”, “111”, and “...” are not allowed)
After you finish
The XClarity Orchestrator dashboard is displayed with a summary of resource heath and activities in your environment.
Change the password of the current user by clicking Change password.
Log out of the current session by clicking Log out. The XClarity Orchestrator log in page is displayed.
From the login page, you can click the License Entitlement link to open the Features on Demand web portal, where you can find and manage all your Lenovo product licenses.
Submit ideas for XClarity Orchestrator on the Lenovo XClarity Ideation website or by clicking Submit idea.
Ask questions and find answers on the Lenovo XClarity Community forum website by clicking Users Forum.
Download the XClarity Orchestrator PowerShell (LXCOPSTool) toolkit by clicking Toolkits. The LXCOPSTool toolkit provides a library of cmdlets to automate provisioning and resource management from a Microsoft PowerShell sesssion.
Find information about how to use XClarity Orchestrator using the embedded help system by clicking Help.
The online documentation is updated regularly in English.
View information about the XClarity Orchestrator release by clicking About.
From the About dialog, you can find links to view the End User License Agreement, Open Source Licenses, and the Lenovo Privacy Statement.
Change the language of the user interface by clicking Change language. The following languages are supported.
- English (en)
- Simplified Chinese (zh_CN)
- Traditional Chinese (zh_TW)
- French (fr)
- German (de)
- Italian (it)
- Japanese (ja)
- Korean (ko)
- Brazilian Portuguese (pt_BR)
- Russian (ru)
- Spanish (es)
- Thai (th)