Importing operating-system images
Before you can deploy a licensed operating system to managed servers, you must import the image into the OS images repository.
About this task
For information about operating system images that you can import and deploy, including supported base and custom operating systems, see Supported operating systems.
For ESXi only, you can import multiple ESXi images with same major/minor version to the OS images repository.
For ESXi only, you can import multiple customized ESXi images with same major/minor version and build number to the OS images repository.
When you import an operating system image, XClarity Orchestrator:
- Ensures that there is sufficient space in the OS-images repository before importing the operating system. If you do not have sufficient space to import an image, delete an existing image from the repository and attempt to import the new image again.
- Creates one or more profiles of that image and stores the profile in the OS-images repository. Each profile includes the OS image and installation options. For more information about predefined OS image profiles, see Operating-system image profiles.
Note
Internet Explorer and Microsoft Edge web browsers have an upload limit of 4 GB. If the file that you are importing is greater than 4 GB, consider using another web browser (such as Chrome or Firefox).
Procedure
To import an operating-system image into the OS-images repository, complete the following steps.
- From the XClarity Orchestrator menu bar, click Provisioning (
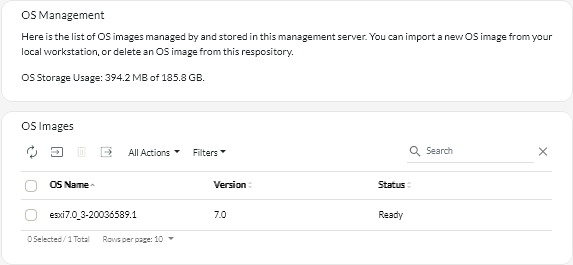
 ) > OS Deployment, and click the OS Management tab to display the OS Management page.
 - Click OS Images in the left navigation to display the OS Images card.
- Click the Import Files icon (
 ) to display the Import OS Images dialog.
After you finish
From this page, you can perform the following actions.
- Delete a selected OS image by clicking the Delete icon (
 ).
). - View and edit OS profiles by clicking click XClarity Orchestrator menu bar, click Provisioning () > OS Deployment, and click the OS Profiles tab, select the profile, and click the Edit icon (
 ) (see Configuring operating-system profiles).
 - Delete OS profiles by clicking click XClarity Orchestrator menu bar, click Provisioning () > OS Deployment, and click the OS Profiles tab, select the profiles, and click the Delete icon ().NoteIf you delete the last remaining predefine profile for an operating system, the operating system is also deleted.
Give feedback