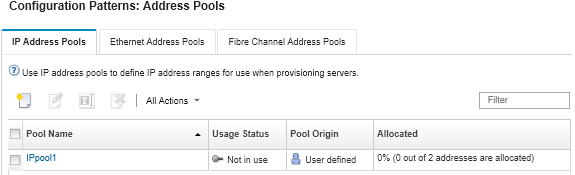
Creating an IP address pool
An IP address pool defines a range of IP addresses for use when configuring the baseboard-management-controller network interface of your servers. When the associated server pattern is deployed, IP addresses are allocated from the specified pool and assigned to individual servers.
About this task
The data in the Overall Network Information table on the New IP Address Pool dialog is derived from the specified subnet mask and gateway or initial range. You can create pools of different sizes based on the specific subnet mask, but overall pool ranges must be unique within the management domain. Ranges are then created from the overall pool range. All ranges must be part of the same sub network and are bound by the limits shown in the Overall Network Information table.
The pool and ranges have Lenovo XClarity Administrator scope. In large environments with multiple XClarity Administrator instances, create unique pools and ranges for each XClarity Administrator to avoid address conflicts and to avoid address conflicts with existing IP management tools. Ranges can also be used to separate hosts (for example, by operating system type, workload type, and business function) and to tie organization network rules.
Procedure
Complete the following steps to create an IP address pool.
- Click the Create icon (
 ). The New IP Address Pools Wizard dialog is displayed.
 - Fill in the following information.
- Name and description for the address pool.
- Choose to use IPv4 or IPv6 addresses.
- Select a subnet mask (for IPv4) or a routing prefix length (for IPv6).
- Specify the gateway address.
The network information values are derived from the specified subnet mask and gateway or initial range and are filled in the table.
- Add one or more ranges of addresses:
- Click Add Range to add a range of addresses. The New Add IP Address Range dialog is displayed.
- Enter a range name, first address, and range size.
The last address is calculated automatically.
- Click OK.
The range is added to the Define IP pool address ranges table, and the fields in the summary section are updated automatically.
You can edit the range by clicking the Edit icon (
 ) or remove the range by clicking the Remove icon (
 ).
).
After you finish
- Modify the address pool by clicking the Edit icon ().
- Rename the address pool by clicking the Rename icon.
- Delete the address pool by clicking the Delete icon (
 ).
). - View details about the address pool, including a mapping between the virtual addresses and the installed adapter’s ports and reserved virtual addresses, by clicking the pool name in the Pool Name column.