Creating an Ethernet address pool
Ethernet address pools are collections of unique media access control (MAC) addresses that can be assigned to network adapters. You can use or customize predefined address pools as needed, or you can create new address pools. When you create a server pattern, if you enable virtual addressing for Ethernet adapters, you can choose which Ethernet address pool is to be used when the pattern is deployed. When the associated server pattern is deployed, MAC addresses are allocated from the selected address pool and assigned to individual network adapters in the servers.
Procedure
Complete the following steps to create an Ethernet address pool.
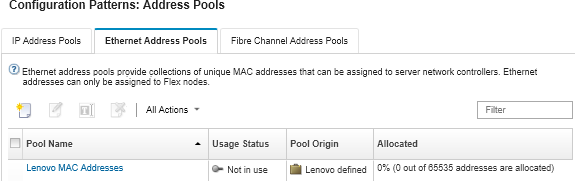
- From the Lenovo XClarity Administrator menu bar, click . The Configuration Patterns: Address Pools page is displayed.
- Click the Ethernet Address Pools tab.
- Click the Create icon (
 ). The New Ethernet (MAC) Address Pools dialog is displayed.
 - Enter a name and description for the address pool.
- Add one or more ranges of addresses:
- Click Add.
The range is added to the Define Ethernet (MAC) pool address ranges table, and the fields in the summary section are updated automatically.
You can edit the range by clicking the Edit icon (
 ) or remove the range by clicking the Remove icon (
 ).
).
- Click Add.
- Click Save.
After you finish
- Modify the address pool by clicking the Edit icon ().
- Rename the address pool by clicking the Rename icon.
- Delete the address pool by clicking the Delete icon (
 ).
). - View details about the address pool, including a mapping between the virtual addresses and the installed adapter’s ports and reserved virtual addresses, by clicking the pool name in the Pool Name column.