Setting up the XClarity Controller network connection through the XClarity Provisioning Manager
Use the information in this topic to set up an XClarity Controller network connection through the XClarity Provisioning Manager.
After you start the server, you can use the XClarity Provisioning Manager to configure the XClarity Controller network connection. The server with the XClarity Controller must be connected to a DHCP server, or the server network must be configured to use the XClarity Controller static IP address. To set up the XClarity Controller network connection through the Setup utility, complete the following steps:
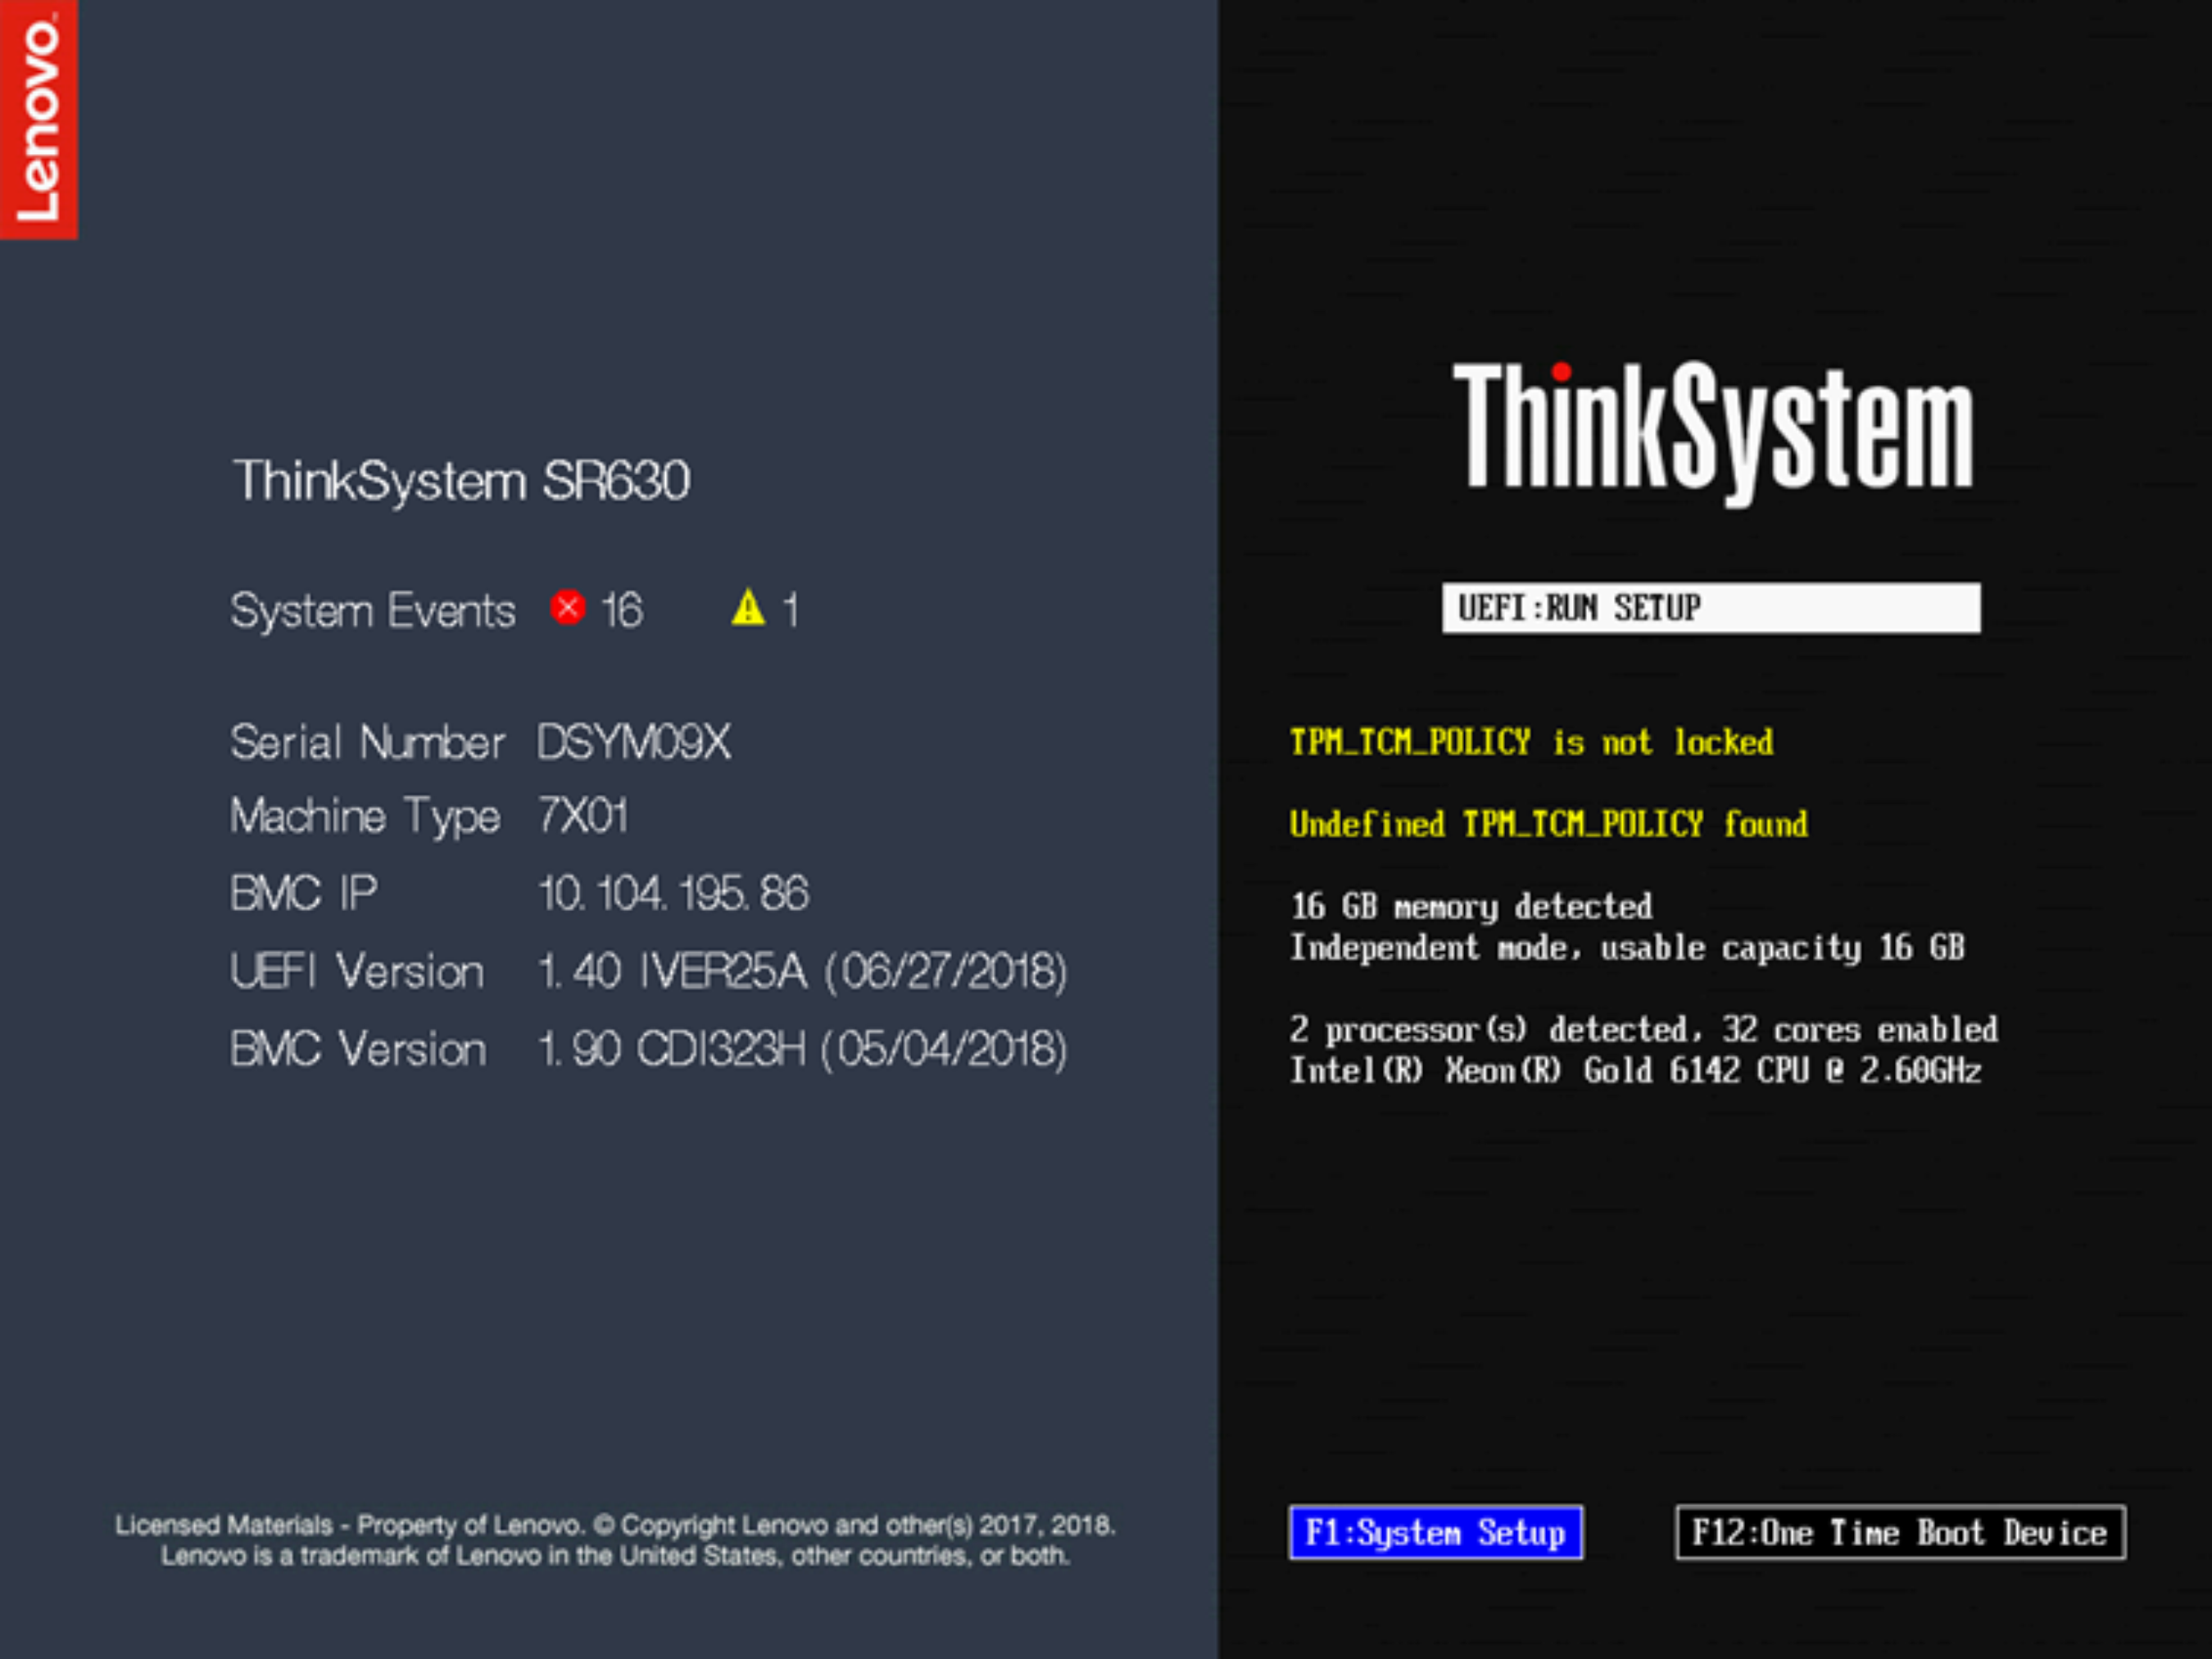
- Turn on the server. The ThinkSystem welcome screen is displayed. NoteIt may take up to 40 seconds after the server is connected to AC power for the power-control button to become active.
- There are three XClarity Controller network connection choices in the DHCP Control field:
- Static IP
- DHCP Enabled
- DHCP with Fallback

Note
- You must wait approximately 1 minute for changes to take effect before the server firmware is functional again.
- You can also configure the XClarity Controller network connection through the XClarity Controller web interface or command-line interface (CLI). In the XClarity Controller web interface, network connections can be configured by clicking BMC Configuration from the left navigation panel , and then selecting Network. In the XClarity Controller CLI, network connections are configured using several commands that depend on the configuration of your installation.